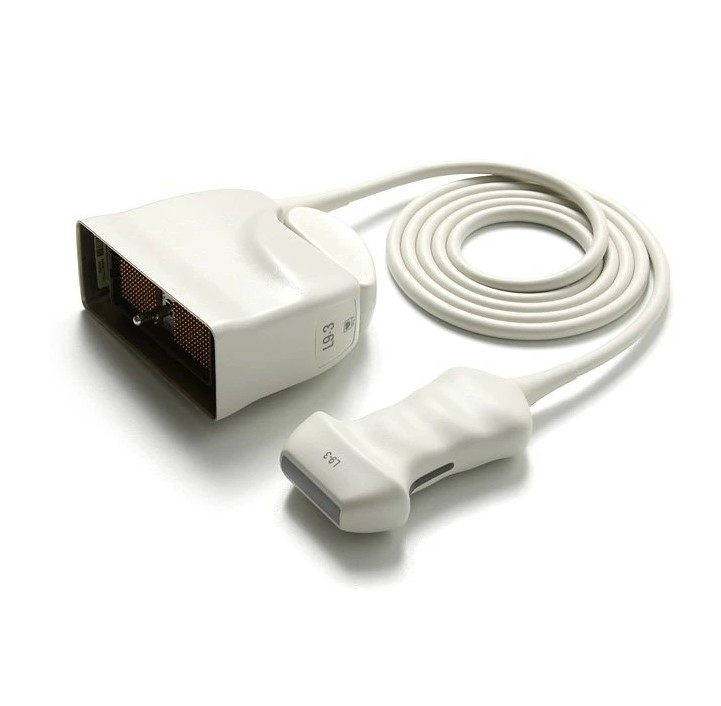
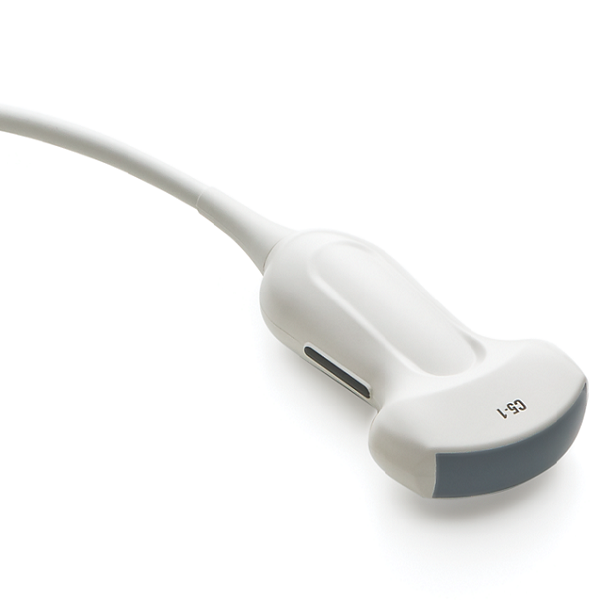
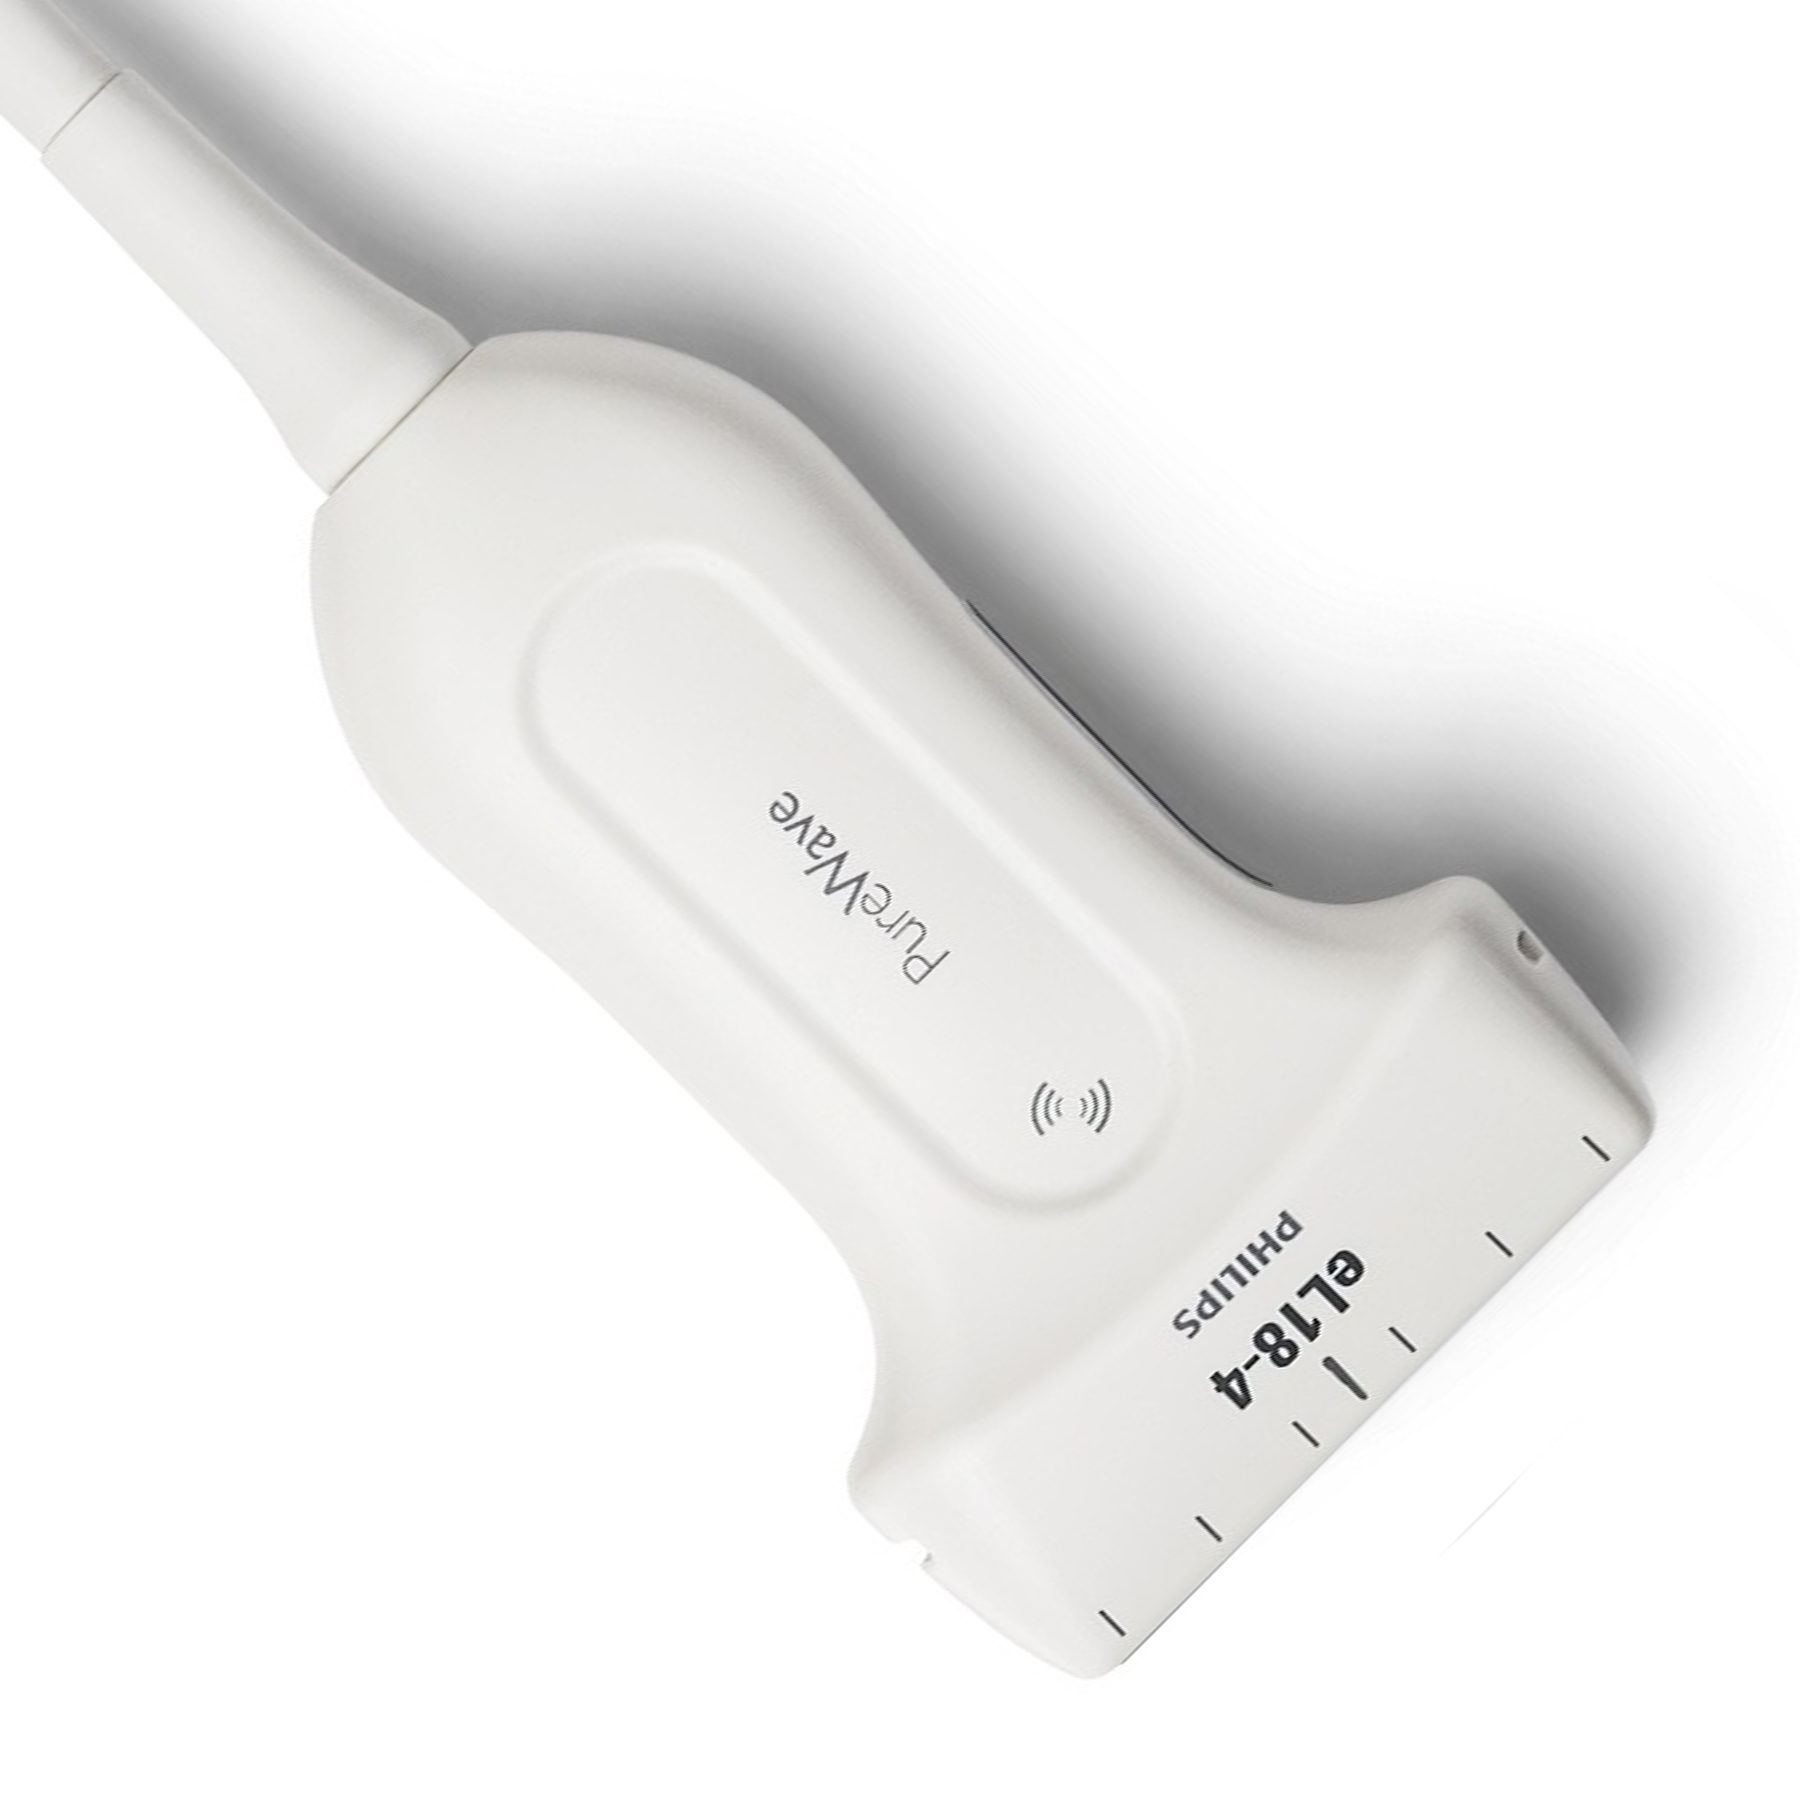
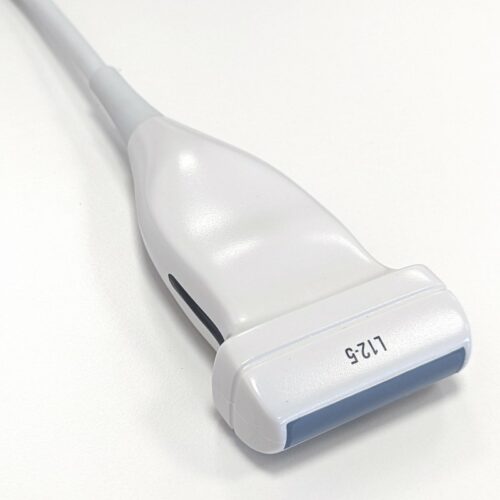
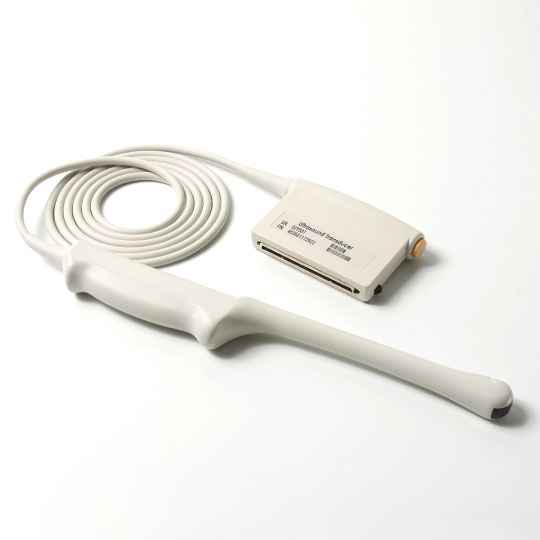
Ensuring the cleanliness of ultrasound probes is paramount for patient safety and the quality of diagnostic images. Ultrasound probes, essential tools for visualizing internal organs, tissues, and fetuses, require meticulous care to prevent cross-contamination and infections. This comprehensive guide will walk you through the critical steps for effectively cleaning and maintaining ultrasound probes, highlighting the importance of this process for patient well-being and diagnostic accuracy.
Why Meticulous Cleaning Is Essential?
The significance of cleaning ultrasound probes extends beyond equipment maintenance. It directly influences patient health and the accuracy of diagnostic results. Inadequate cleaning can lead to cross-contamination, the transfer of infections, and compromised diagnostic outcomes. Adhering to stringent cleaning protocols is essential for healthcare providers to mitigate these risks and deliver optimal patient care.
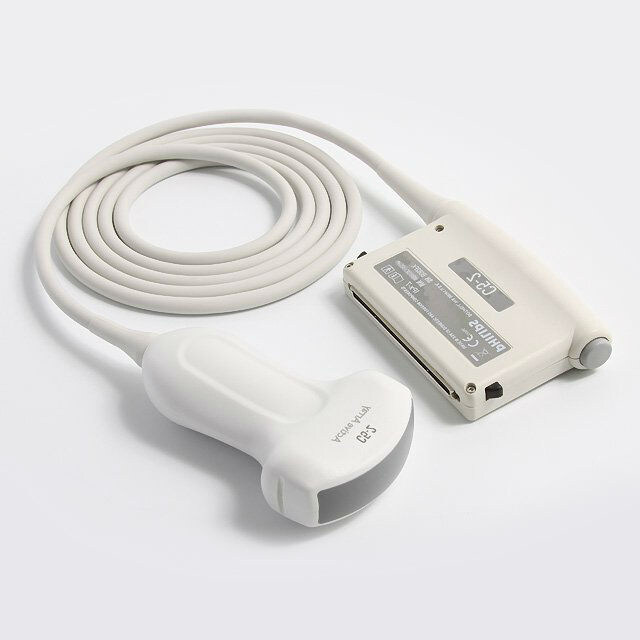
Steps To Clean The Ultrasound Probes
To guarantee efficient disinfection without harming the probe's sensitive components, cleaning an ultrasonic probe takes painstaking attention to detail. Here's a more in-depth look at each step of the cleaning process:
Preparing For Cleaning
Before you begin, ensure that you are wearing disposable gloves to protect yourself from potential exposure to contaminants. Gather all the necessary cleaning supplies in a designated clean area. To avoid cross-contamination, this room should be well-ventilated and separated from patient care areas.
Initial Disinfection
Start by turning off the ultrasound machine and disconnecting the probe from any power source or connection. This step is critical in order to avoid any electrical dangers throughout the cleaning procedure. Wipe off the probe's exterior surfaces using a clean, lint-free cloth soaked with the prescribed medical-grade disinfection solution. Pay special attention to locations that are regularly handled, such as buttons and connections.
Removing Contaminants
Examine the probe for obvious debris or impurities. If you detect any, gently remove them with a cloth or swab wet with the disinfecting solution. Be careful not to use excessive force or abrasive materials that could damage the probe's surfaces.
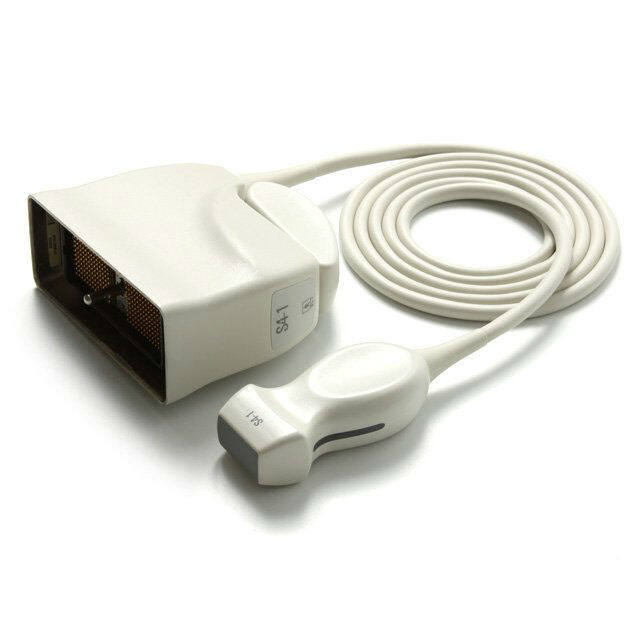
Cleaning The Transducer Surface
The transducer is the most critical part of the probe, as it comes into direct contact with the patient's skin. To clean it, dampen a clean cloth or swab with the approved disinfectant solution. Start cleaning from the center of the transducer and work your way outward in a circular motion. Excess liquid entering the probe's apertures should be avoided since it might harm internal components.
Cleaning The Cable
Another area that demands attention is the cord that connects the probe to the ultrasound machine. Dampen a cloth with the disinfectant solution and gently clean the cable's surfaces, paying close attention to any connectors. Be cautious not to wet the connectors excessively, as moisture could potentially lead to electrical issues.
Rinsing
After cleaning, wipe off the probe and cable with a separate clean cloth or swab wet with distilled water. This step helps remove any residual disinfectant solution, preventing it from coming into contact with patients during subsequent use.
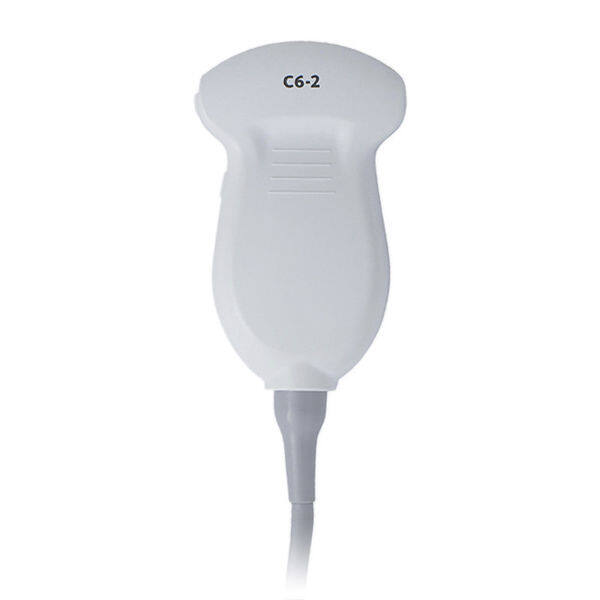
Drying
Allow the probe and cable to dry naturally in a clean, dry, and well-ventilated environment. Avoid using heat sources or compressed air to speed up the drying process, as these could cause damage to sensitive components. Ensure that the probe is completely dry before moving on to the next step.
Final Disinfection
Once the probe and cable are thoroughly dry, apply a small amount of the approved disinfectant solution to a clean cloth. Wipe off the entire probe, including the transducer, cord, and connections, using a soft cloth. This final disinfection step helps ensure that any remaining microbes are eliminated before the probe is used on the next patient.
Conclusion
Maintaining the cleanliness of ultrasound probes is crucial for ensuring patient safety, preventing infections, and achieving accurate diagnostic results. For those in search of high-quality ultrasound probes, Xity offers a diverse selection to meet various needs. Discover more about our products today.
 English
 Русский

