English
 Русский
As a leading provider of ultrasound solutions, Xity understands the importance of maintaining the integrity and longevity of your ultrasound probes. These delicate instruments are essential for delivering accurate diagnostic images and ensuring optimal patient care. However, poor storage can cause deterioration, reducing their efficacy and potentially jeopardizing patient safety. In this comprehensive guide, we'll explore the best practices for safely storing your ultrasound probes, ensuring they remain in top condition for years to come.
Why Proper Probe Storage Matters?
Understanding the significance of ultrasound probe storage is crucial for maintaining the functionality and longevity of these essential diagnostic tools. Proper storage not only safeguards the probes from physical damage and environmental hazards but also plays a pivotal role in infection control and compliance with ultrasound probe storage requirements. Inadequate storage solutions can lead to:
●Damage to the probe's delicate components, such as the head, cable, or connector.
●Compromise of the probe's acoustic lens and internal mechanisms.
●Elevated risk of cross-contamination and infection, undermining patient safety.
●Reduced probe lifespan, necessitating costly replacements.
Embracing best practices in ultrasound probe storage, including the use of ultrasound probe storage racks or cabinets, ensures that these critical instruments are preserved in optimal condition, thereby supporting diagnostic accuracy and patient care excellence.
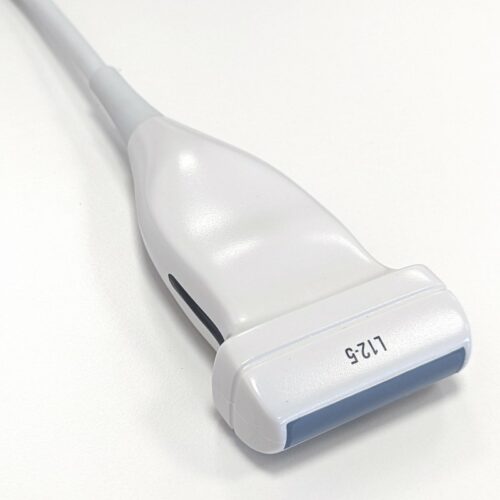
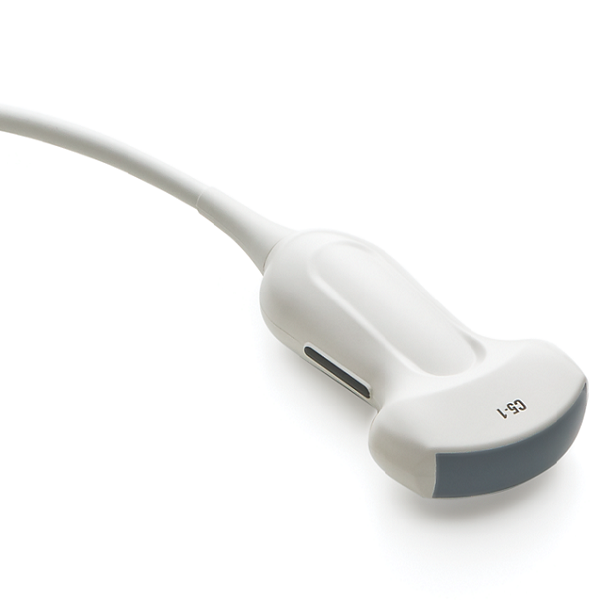
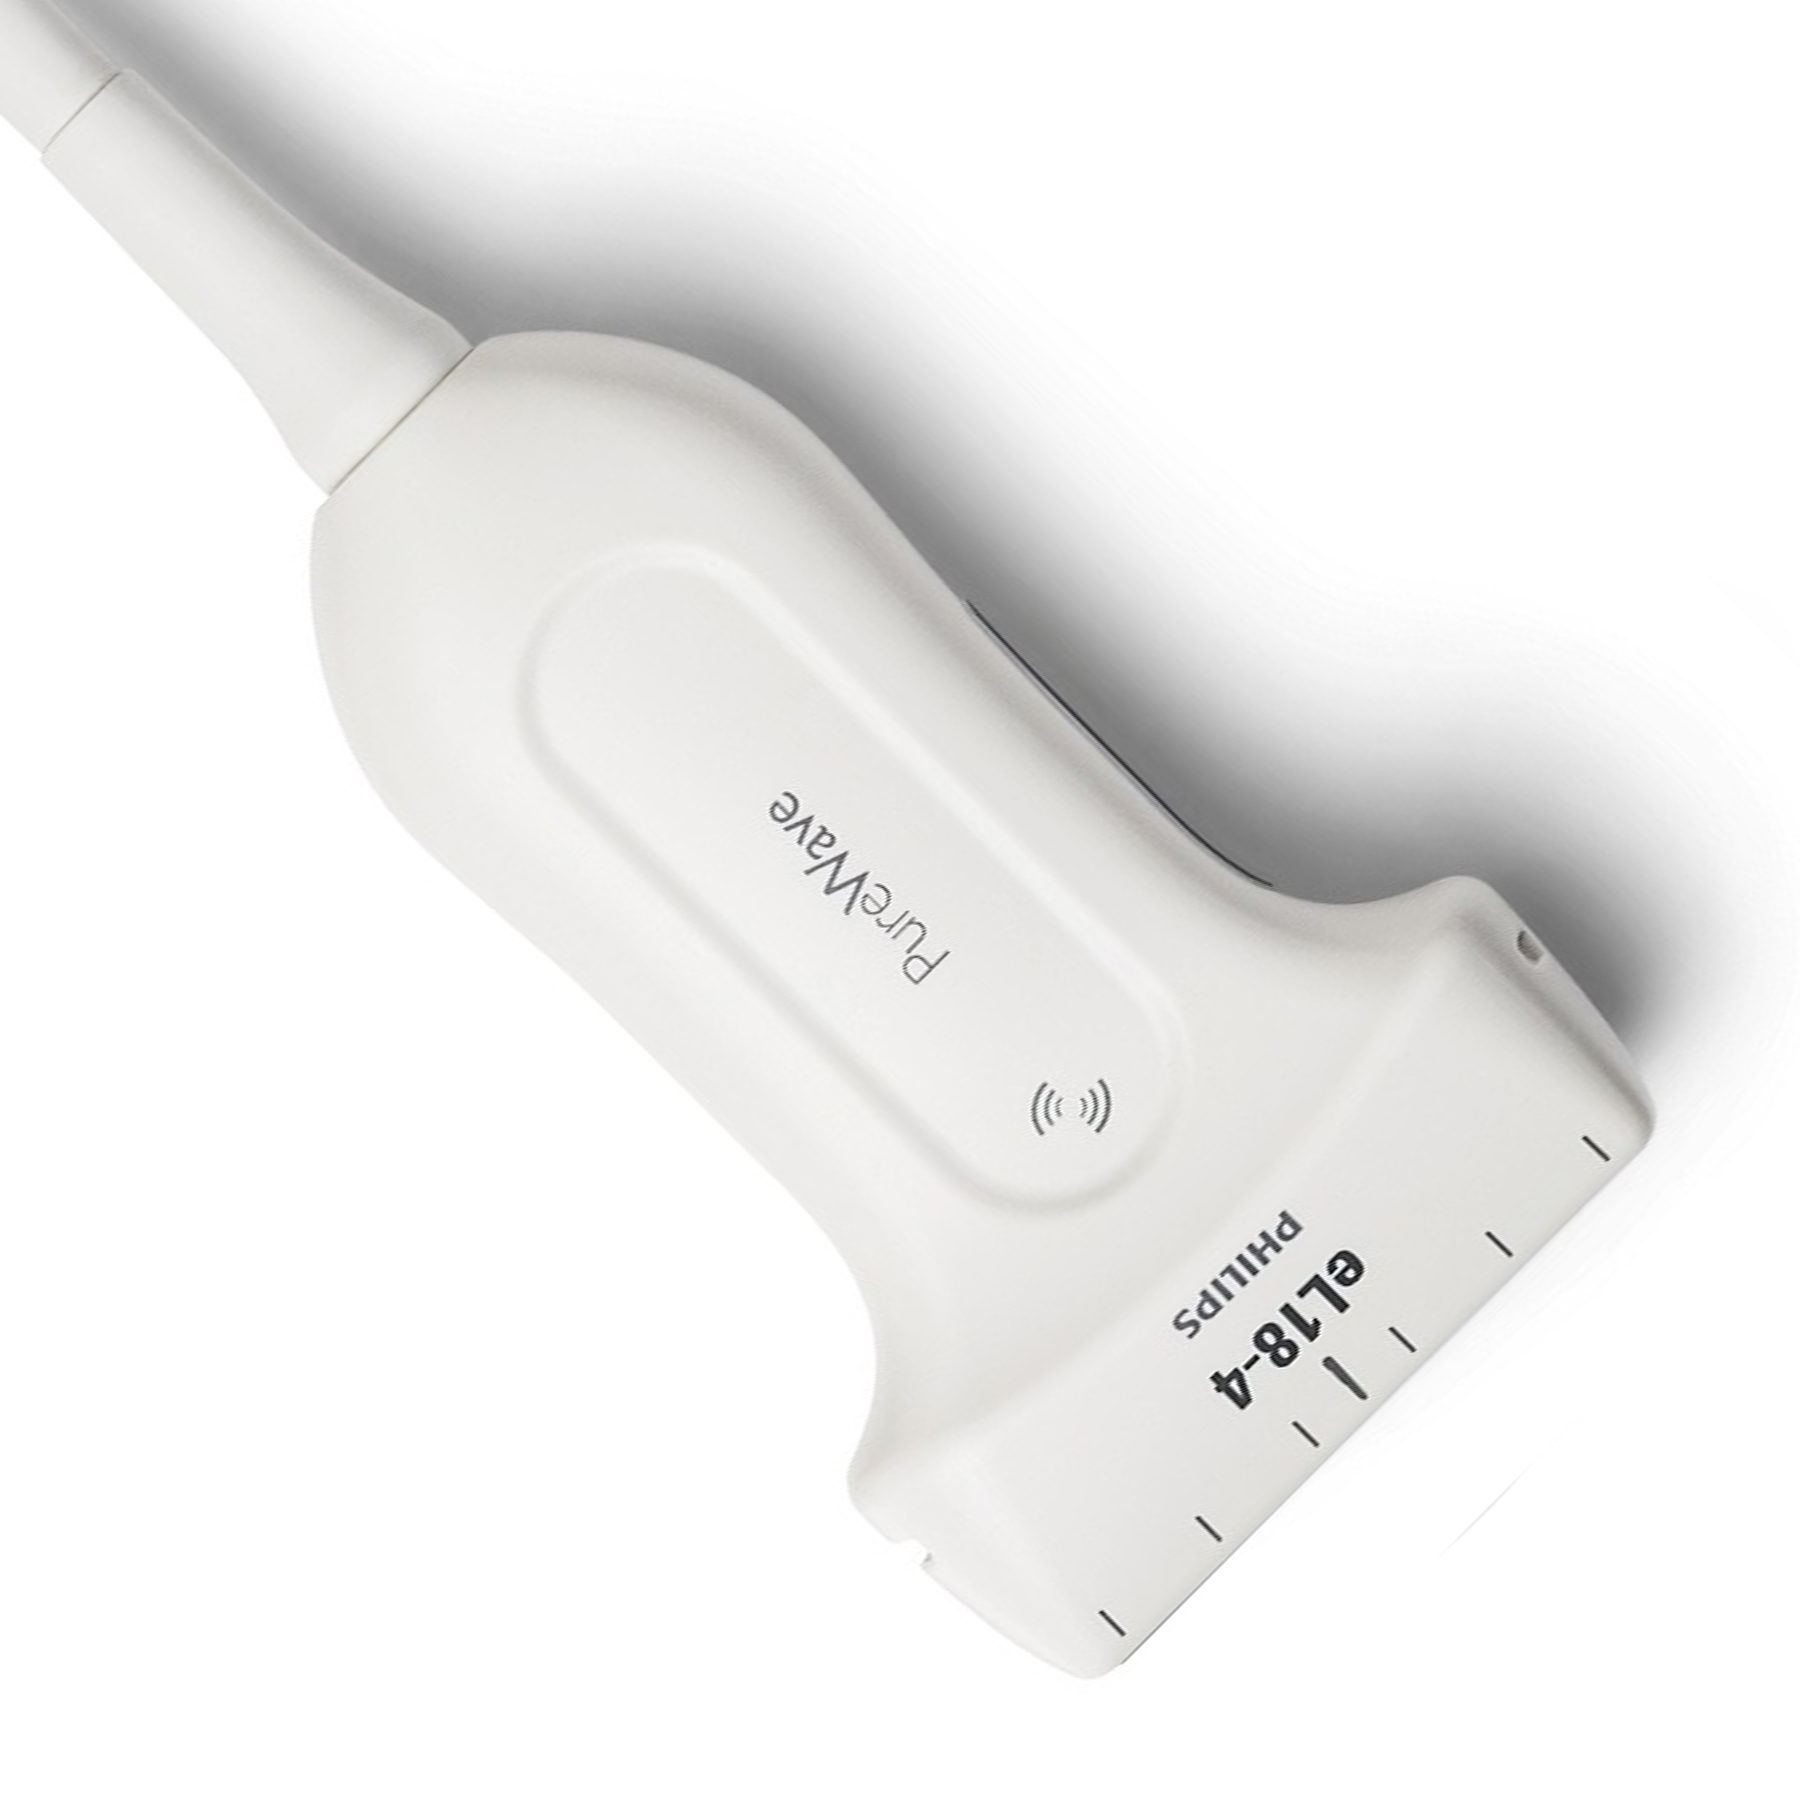
Philips L12-5 50mm Linear Array Transducer
Step by Step Guide to Safe Ultrasound Probe Storage
Step 1: Proper Cleaning and Disinfection
Before storing your ultrasound probes, make sure you clean and disinfect them according to the manufacturer's instructions. Failure to do so can lead to the growth of harmful microorganisms, putting patients and healthcare professionals at risk of infection.
Cleaning
● Use only approved cleaning solutions and follow the manufacturer's instructions carefully.
● Gently wipe the probe head, cable, and connector with a soft, lint-free cloth dampened with the cleaning solution.
● Avoid submerging the probe or allowing liquid to enter the connector or cable.
Disinfection
● Choose a high-level disinfectant compatible with your probe and follow the manufacturer's instructions for proper dilution and contact time.
● Ensure that the disinfectant solution is fresh and within its expiration date.
● After disinfection, rinse the probe thoroughly with sterile water and dry it completely with a clean, lint-free cloth.
Step 2: Proper Drying and Inspection
After cleaning and disinfecting, it is essential to ensure that your ultrasound probes are completely dry before storing them. Moisture can promote the growth of bacteria, thereby damaging the probe's internal components.
● Use a clean, lint-free cloth to thoroughly dry the probe head, cable, and connector.
● Inspect the probe for any signs of damage, such as cracks, dents, or fraying cables.
Step 3: Choosing the Right Storage Environment
Selecting an appropriate ultrasound storage environment is paramount for the preservation and readiness of your ultrasound probes. To prevent premature deterioration and ensure the probes' functionality and safety, consider the following:
Temperature and Humidity: Maintain a controlled environment, ideally cool and dry, to avoid damage from extreme temperatures or moisture, which can foster microbial growth.
Protection from Physical Damage: Utilize ultrasound probe racks or storage cabinets specifically designed for this purpose to prevent damage from accidental drops, kinks in cables, or other physical impacts.
Separation and Organization: Employ ultrasound probe storage solutions that allow for individual storage, reducing the risk of tangling, cross-contamination, and facilitating easy identification and access. Ultrasound probe cabinets or TEE probe storage systems with clear labeling can significantly enhance organization and efficiency.
By integrating these tailored storage solutions, such as ultrasound probe storage racks and cabinets, you can significantly mitigate risks and extend the operational life of your ultrasound probes.
Step 4: Regular Maintenance and Inspection
Regular maintenance and inspection are essential to ensure the continued safe operation and longevity of your ultrasound probes.
Routine Inspections
● Establish a schedule for routine inspections of your probes, checking for any signs of damage, wear, or contamination.
● Document the inspection results and take appropriate action if any issues are identified.
Preventive Maintenance
● Follow the manufacturer's recommendations for preventive maintenance, such as cable management, lens cleaning, and periodic testing.
Firmware and Software Updates
● Keep your ultrasound system and probes up-to-date with the latest firmware and software updates from Xity.
● These updates often include performance enhancements, bug fixes, and improved compatibility, ensuring optimal probe performance and patient safety.
Conclusion
Proper ultrasound probe storage is key for preserving the integrity, function, and longevity of these vital diagnostic tools.
Remember, at Xity, we are committed to helping you every step of the way. Our team of professionals is here to answer your questions, provide training, and help you with any probe-related needs. Together, we can ensure that your ultrasound probes remain in top condition, enabling you to provide the highest quality of care to your patients.